Monday, 8 January 2018

Getting organized in the New Year-Tool Caddy for Gypsy Soul Lasercuts

Hi everybody! Hope you had a wonderful holiday season; as my first post for the new year, I decided I'd jump on the storage and organization bandwagon! I really needed to get my favourite pens, markers and pencils all in one place, and this awesome tool caddy is the perfect place for them (I made one for my paintbrushes LAST year!)


I used this gorgeous, delicate Heartfelt Creations paper; I love the soft colours and the Scripture verses that are included in the paper pad.


Once I chose the papers, I painted the edges of the caddy that would be uncovered with a light wedgewood blue acrylic paint, then cut the papers to fit each piece, just laying the pieces on the reverse side of the paper and tracing around them. I then sanded and inked the edges a bit before gluing them on. I also inked the edges of the fussy cut verse before attaching it to the front with foam tape.


The leafy swirls I cut into two pieces, one foe each end of the caddy-I love how easily these chipboard embellishments can be cut to fit whatever project I'm using them for! I painted them with the wedgewood acrylic before heat embossing them with distress embossing powder. they were then lightly rubbed with soft blue ink.


I diecut the flowers and layered the 3 sizes after inking the edges and shaping them. The trick to shaping them I learned at a Heartfelt Creations workshop at CHA a few years back (although my tools are much more makeshift than theirs were!) I placed the flowers on my mouse pad, then used the round end of a crochet hook, placed it in the center of the flower and gently rotated it in a small circle until the flower sunk in in the center and the petals curled outward. Once they were glued together I added some antique gold microbeads in the centers.


I love to fussy cut and these papers had gorgeous vines that were perfect to add to the top of my caddy; a soft bow finished it off.

I hope you enjoyed seeing my project; I'm looking forward to how much more organized I'll be now....actually I think it just might take a "smidge" more than a caddy to make me stay organized, but hey, it's a start, right???

Happy New Year and have a terrifically creative 2018

GYPSY SOUL ITEMS USED

Tool Caddy

Leafy Swirl

OTHER ITEMS USED

Heartfelt Creations 12x12 paper pad-
Countryside Evening collection

Ranger Distress embossing powder-Pumice Stone
Versacolor Ink-Polar blue
Versamark Ink
Ingvild Bolme Ink-Old Road
Aleene's Tacky white glue
microbeads
foam tape

Monday, 25 December 2017

Wintery canvas for Gypsy Soul Lasercuts

Merry Christmas! Wishing each and every one of you a wonderful, magical day! I've created a glittery, shimmer, magical scene on an 8x8 canvas using some really great chipboard pieces from the Gypsy Soul store.


I used Authentique paper from the Cozy collection for my background, tearing the edges so that it was just a smidge smaller than the canvas. I attached it with Mod Podge and podged the edges to keep then from curling or lifting. Homemade texture paste was added using a Prima stencil.

The tree and snowflakes were primed with white acrylic paint and the deer with tan.


I used texture paste on the surface of the tree to create the feel of snow layered atop branches, then when that was dry I brushed Mod Podge lightly here and there and sprinkled on some clear glass glitter. After allowing that to dry, I misted with Tattered Angels glimmer mist in Olive Vine (one of my favourite shades) The mist took on a slightly darker shade where the Mod Podge was, resulting in a nice variation in the colour.


I brushed the snowflakes with Mod Podge and sprinkled them with glass glitter as well, and brushed the reindeer with white Perfect Pearls to soften the colour and add a subtle sheen, then added a little glass glitter to their backs as well.


The snow was created with Mod Podge and cheesecloth; I just kind of mooshed the cloth into the podge and then added glass glitter....hmmm, a bit of a pattern here-Mod Podge and glass glitter n everything, everywhere!!! When it was dry, the cheesecloth was stiff and held the shape of the "snowbanks" I had created.


You may know that I love squirrels, so I decided my outdoor scene needed a couple of these little cuties-they were cut with a Memory Box die and lightly inked in dark grey.


I glued the tree and snowflakes down and popped up the deer with foam tape for dimension, and added a sentiment to the top, also popped up with foam tape.

Thanks so much for stopping by and checking out my winter creation!

GYPSY SOUL ITEMS USED


OTHER ITEMS USED

Authentique paper-Flurries
Memory Box die-squirrels
clear glass glitter
Mod Podge
Tattered Angels glimmer mist-Olive Vine
Perfect Pearls powder
Prima stencil

Tuesday, 19 December 2017

Kaisercraft December Challenge-Christmas Wishes

I love the unique colours in this collection; they may not be traditional Christmas colours but they sure make me feel Christmassy anyway!


The lovely delicate ornaments just begged to be fussy cut and popped up! I added some cheesecloth for a dreamy, soft feel and some acrylic snowflakes dusted with glass glitter.

Isn't that sentiment beautiful? Kaisercraft, you have a way with words! Merry Christmas to all, and thanks for stopping by.

Kaisercraft December Challenge-Frosted

The December Challenge at Kaisercraft is cards, and these papers were perfect; I love that they provide sentiments for card fronts as well as beautiful background papers that are also great for layouts.

I fussy cut flourishes, distressed and inked edges, added some stencilling with texture paste, and added a little lace for extra texture.This actually looks soooo much better in real life; we've had some grey days lately that haven't been great for taking photos. Thanks for looking!

Monday, 11 December 2017

A Gift of Love Christmas Sleigh for Gypsy Soul Lasercuts

Hello crafty friends! Many of us are up to our ears in Christmas creating, decorating, baking and what-have-you, and that's a happy place to be! The sleigh is one of my favourite GSL pieces, and I love the one I made for myself last year. My best friend loved it to, so I pulled out my (huge) stash of Christmas papers and told her to pick out what she liked best, and I would use it to make a sleigh for her!


There's a template of the side pieces included in the sleigh kit to trace around on your patterned paper, which is wonderful! I used some lovely old-fashioned Inkido Christmas papers, positioning them so the poinsettia pattern ran along the bottom of the sleigh. I hate measuring, so I also traced around the inside and back/front pieces and glued papers on them before putting the sleigh together.

I dry-embossed the fancy overlay and painted it gold before heat embossing it in antique gold.
(I painted the skis and edges of the main side pieces gold as well.)


I rubbed the edges with bronze ink for a richer look.


When attaching the overlay, I used these adorable itty-bitty clamps my hubby put in my Christmas stocking last year....they are soooo handy for gluing things together, holding them tight until the glue sets.


The bells were cut from another sheet of Inkido paper and were heat embossed with UTEE before being attached with thick Glue Dots. I used a larger one for the front of the sleigh.


When everything was put together, I placed a piece of styrofoam in the bottom of the sleigh before I added my greenery (which was cut from one of those artificial garlands) I cut the piece smaller than the sleigh because the garland greenery would be tucked around the edge before I added the stand-up embellishments.


The reindeer was already on a wire, but I attached the fussy-cut Santa and sentiment, diecut poinsettias and min wrapped gifts to kitchen skewers, then arranged them in the styrofoam piece. I then bent the wired garland around to cover the remaining styrofoam and showcase the embellishments and sleigh. I'm on a twisted paper kick these days and added a couple strips with Christmas sentiments to the arrangement.


I love Christmas and had a wonderful time putting this together! I love the way you can take any of the Gypsy Soul chipboard items and finish it so many different ways depending on your taste, decor, supplies, etc.

Wishing each of you a wonderful Christmas season, and I do
hope you take time to enjoy a little crafting in the midst of the hustly-bustly preparations!


GYPSY SOUL ITEMS USED

Santa's Sleigh

OTHER ITEMS USED

Inkido papers
Cuttlebug embossing folder
gold acrylic paint
Stampendous gold embossing powder
UTEE
Spellbinders poinsettia die
artificial pine garland

Monday, 27 November 2017

Santa's Little Helpers Christmas shadowbox for Gypsy Soul Lasercuts

I wanted to use this house shadowbox for a fun theme, and what's more fun than Christmas, right? I found these cute little elves at a local craft store and pulled out some terrific festive Graphic 45 paper and started playing.

This blown out view shows how the pieces fit together; the two in the middle have slits cut halfway through and they fit together to form an X shape. I like to cover all the pieces with patterned paper and sand & ink the edges before putting 3D items together.


I covered all the pieces and then glued my little house together; I find white glue is usually best.


The snow was made using Faber Castell  Pearl texture paste; I just spread it around with a palette knife, pulling it down to create an overhang.


I heat-embossed the fussy cut embellishments with clear embossing powder to add both sheen and strength. They were then attached with foam tape.

The elves and trees were glued in using a hot glue gun, and the twisted paper strips were attached that way as well. I attached wooden beads as "feet" in the same manner after painting them gold. Some of the paper strips were from the St.Nicholas collection, also by G45.


GYPSY SOUL ITEMS USED

Mini House Room Box, 4 cubbies

OTHER ITEMS USED

Graphic 45 Christmas Carol papers

Aleene's tacky glue
hot glue gun
clear embossing powder, Versamark ink
mini trees from Michael's
Faber Castell Texture Luxe-Pearl

Thursday, 23 November 2017

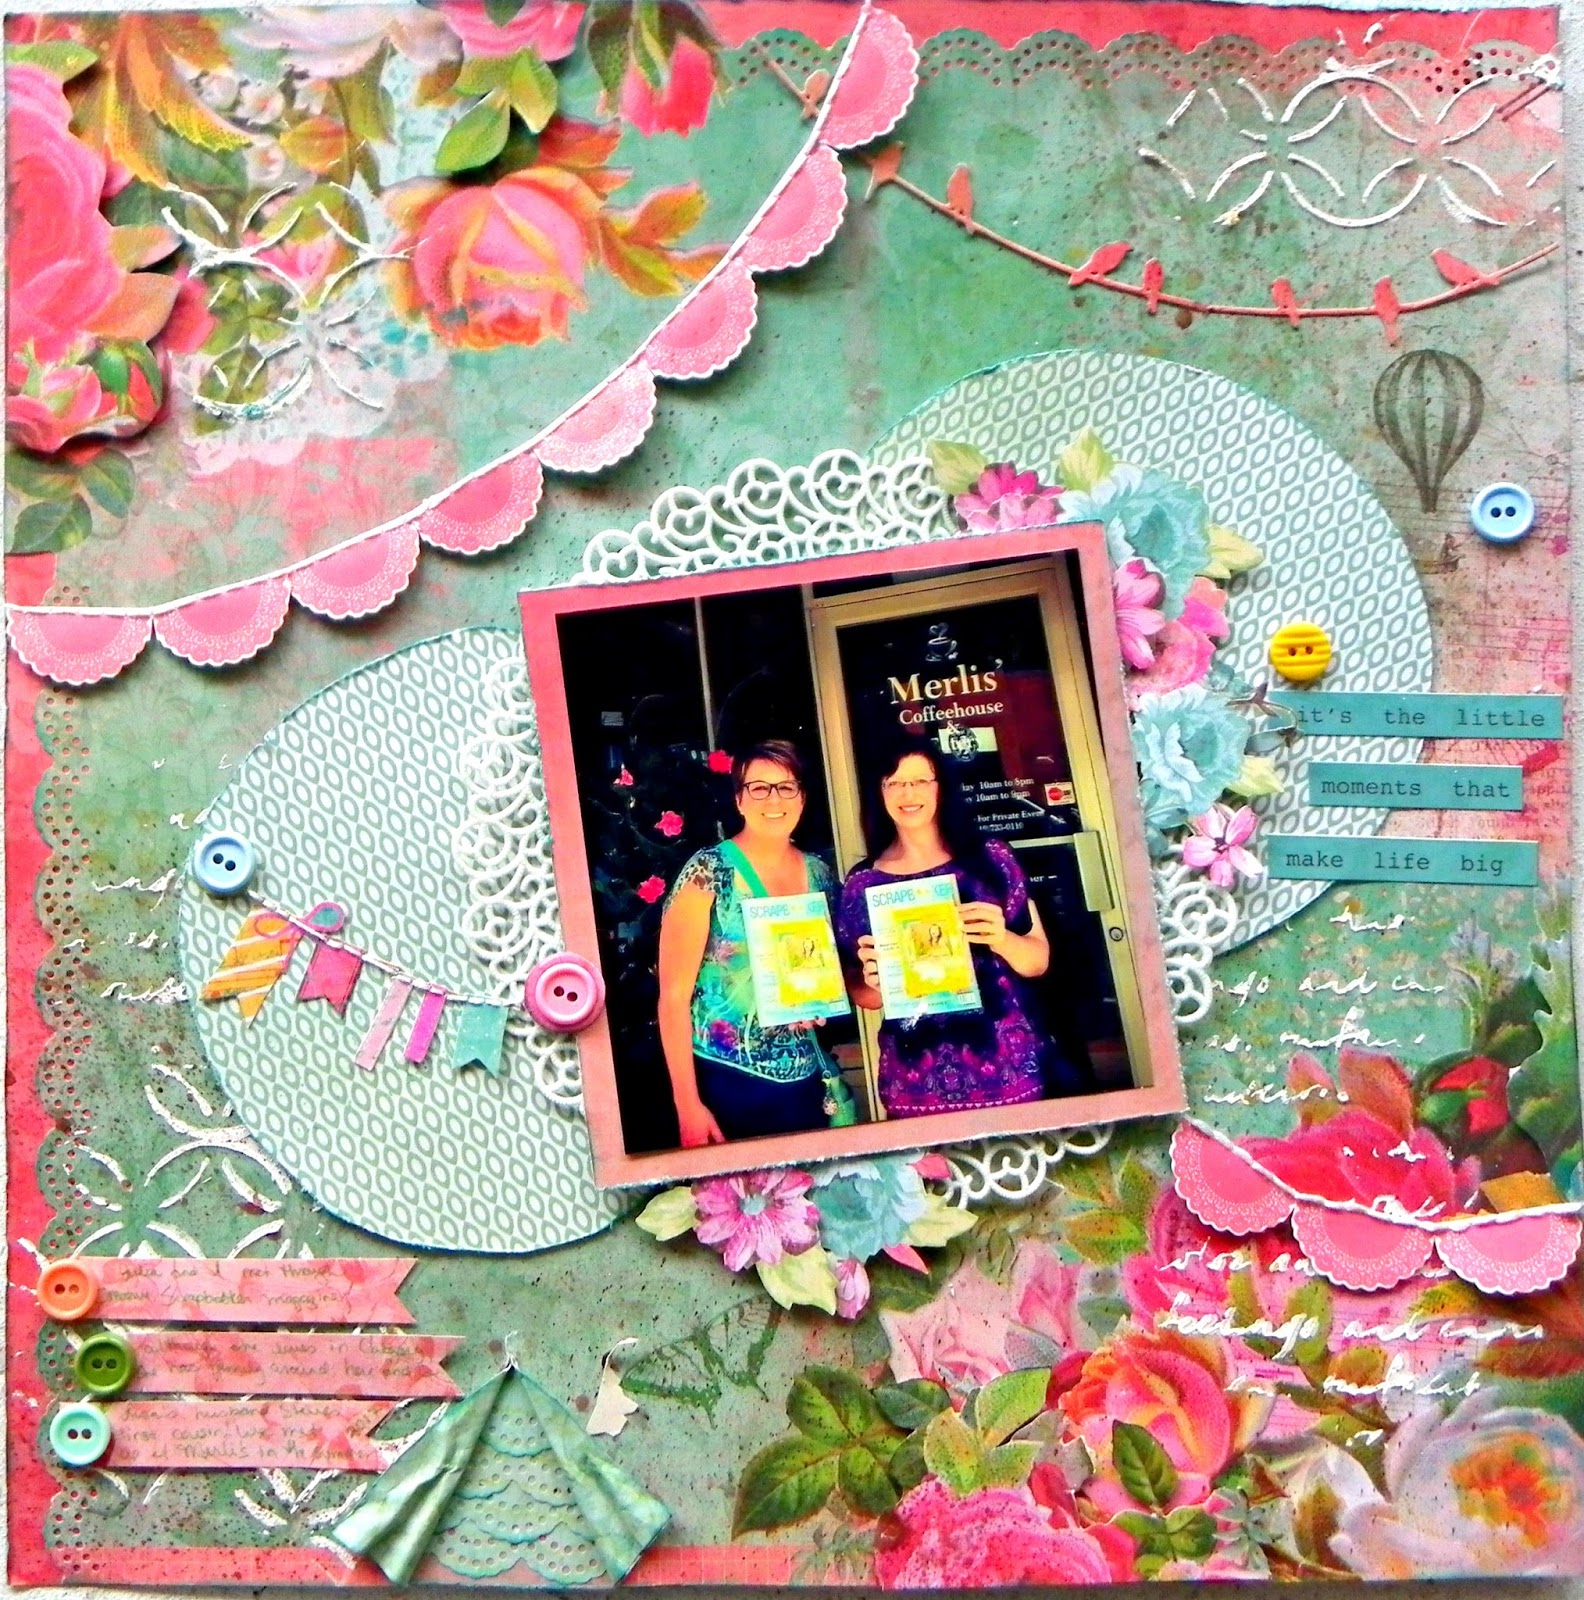
Little Moments layout for Kaisercraft November Challenge

hi! I loved doing the Kaiserbingo challenge so much that I decided to do another page using the same row of items. This layout features the Secret Admirer collection and the photo is of a meeting this summer with a scrapper friend from across the country. Julia saw one of my layouts in Creative Scrapper magazine, which included my town and surname. She used to live in the neighbouring town, and her cousin is married to someone with the same surname (turns out it's my niece!!) Talk about a small world! She was going to be in the area and we made plans to meet up at a local cafe.As of this past week, we've also discovered that we will be on the same design team for 2018....guess we were just meant to meet!


patterned paper only-mixed media-stitching-a favourite quote
are the items in the bingo row I selected:


Thanks so much for stopping by! Happy Thanksgiving to my American friends, and Happy Everything to all of you!