Wednesday, 25 November 2015

Recipe file box with decorated cards and a layout for Scraps of Elegance

hi there! I've been having a great time creating with the November Scraps of Elegance kit "Tracey's Country Kitchen" and am featuring my 2 latest projects today.

First I took a cardboard book box I got at Dollarama and transformed it into a recipe card holder and I decorated some coordinating index cards.


I used plain index cards and added fussy cut details from the papers; six are shown although the box could hold a great deal more.


Closeups of details and layers:


My other project is a layout featuring our kitten Maggie who-along with 4 littermates-I bottelfed from 2 weeks old. Three of the kittens have new homes but Maggie and her sister Honey stayed here and are having a wonderful time destroying my house and terrorizing my other 6 cats and 2 dogs-but of course nI love them to pieces!!


The sweet Petaloo flowers coordinated perfectly and I stencilled randomly with texture paste tinted in coordinating colours as well.


Thanks for visiting and have a great day!

Monday, 23 November 2015

sparkly Christmas Cards for Gina's Designs

hi there! The grass here is still green (although the weather people are saying we might see some of the "white stuff" over the next couple days) but I had a glimpse of a white winter wonderland the last day I was in BC last week and was inspired to create snowy-looking elements on my cards...


Since the fussy-cut ornaments on the blue card had silver details on them I decided to heat-emboss the  open heart pieces in silver. The plain heart I primed with gesso then coated with white glue before covering with clear glass glitter top create a snowy heart.


On the grey card I chose a softer look by priming the pieces with gesso then heat-embossing them with white glitter embossing powder (it took 2 coats to get an evenly sparkly effect)


Both cards look much more snowy and sparkly in real life of course-have some fun playing with glittery products on your chipboard goodies when you create Christmas projects this year-even if you live somewhere tropical you can have a white Christmas! Thanks a bunch for stopping by and have a wonderfully crafty and creative week!

Thursday, 19 November 2015

Our Roots-a heritage layout for Scraps of Elegance

hello crafty friends; I'm here today sharing a DT projects created with the gorgeous November Scraps of Elegance kit "Tracey's Country Kitchen". I used a copy of a vintage photo of my great-great grandmother that my aunt gave me recently....I love reconnecting with my family history!


The frames were fussy cut from one of the papers and I altered the colours a bit with rose and brown inks. The Prima flowers (incl. in the kit) were  also inked. The lace, which came in the kit as well, was lightly dyed with coffee. The centers of the flowers were altered with the Lindy's Midnight Gold embossing powder from the kit.


 The flowers and clocks at the upper left were fussy cut, inked and layered with foam tape. A few tears  and some punchwork finished the page. Thanks a bunch for stopping by and have a terrific day!

Monday, 16 November 2015

Amazing-a mixed media layout for Gina's Designs

hi there and greetings from beautiful (but cold) British Columbia! I'm here visiting my dad who hasn't been all that well and just before I left home I created this tribute page with a photo of Dad taken by his best friend last year & lots of Gina's chipboard goodies!


I started with a corrugated background and added some sand paste for texture. The chipboard and metal pieces were painted grey like the background and then attached to it. I added layers of mist and a bit of spattered acrylic paint as well as a little random stamping.

Don't toss the punch-out negative pieces that come with texture sheets like the Brick wall: they make awesome embellishments as well! The brick pieces were covered with silver texture paste then lightly rubbed with black ink
.
 I love this chain piece and added some extra tan mist to make it stand out; I wasn't especially careful about getting mist on the edges of the photo because I thought it would add to the grungy and masculine feel (although I did mask the center of the photo)


I used several of Gina's gears as well as a couple metal ones and clustered them along with a Tim Holtz compass piece which was left unpainted for contrast.


Thanks for visiting-stay warm and have yourself a wonderful week!

Gina's Items Used

Gears shape Set
Brick Wall
Mixed Media Fragments 1
Chain Borders
Miniatures shape set-guy thing
Chevron Words

Other Items Used

Tim Holtz metal arrow, gears and compass
Prima clock


Mister Hueys, Heidi Swapp, Perfect Pearls and Tattered Angels Mists

Monday, 9 November 2015

Gingerbread family banner for Gina's Designs

hi there! I had so much fun creating my little gingerbread house album a few weeks back  that I decided to create a coordinating banner using the same papers with the adorable little gingerbread people from Gina's. When I set up my Christmas decorations in a couple weeks I'll display them together.


I painted the figures with light brown acrylic paint then sponged them with a reddish brown for a lightly mottled "baked cookie" effect. The clothes were cut from paper and attached to the chipboard clothing bases then I added little embellishments and details. I used a pearl pen for the icing lines here and there.The snowflakes are from the Winter shape set and were primed with gesso then painted with pearl acrylic paint. The candies are from the gingerbread house mini album package. I painted them deep red then mounted them onto cardstock which was painted with the same pearl paint as the snowflakes.


I just attached everything to a piece of green jute for a simple homespun feel. Check out the crazy red feather hair on the little girl in the lower photo-I had some fun with the details!!

Thanks so much for stopping by and have a wonderfully creative week!

Gina's Items Used

Gingerbread family shape set
Gingerbread house mini album set-pinwheel candies
Winter shape set-snowflakes

Monday, 2 November 2015

Hang On To Hope-layout for Gina's Designs

Hello fellow crafters! Here in Southwestern Ontario we're deep into fall and heading toward-ugh-winter; when I saw this image it made me think of how springtime is hope fulfilled after a long cold winter and that we often need to keep a little springtime in our hearts when our circumstances seem like a big patch of winter in our lives as well.


The tree branches were perfect for extending the image; I ran them through my Cuttlebug in a woodgrain embossing folder then painted them brown to match the photo. The leaves were painted green then dabbed lightly with other colours like the ones in the photo. I brushed the pieces with Glossy Accents to give them a bit of a sheen.


The word piece was painted with acrylic paint then heat-embossed with clear embossing powder. I then mounted it on coordinating patterned paper.


Punchwork along with some stencilling and stamping completed the background then I added a few paper strips to mimic the design on the bottom of the photo.I had a great time creating this cheery project and love the way the branches fit onto the design so perfectly-thanks for stopping by and hang onto hope today and every day!

Gina's Items Used

Leafy Branches with Birds
Word Elements 1

Other Items Used

Marion Smith Posh papers
embossing powder and Versamark ink
acrylic paints
Glossy Accents

Saturday, 31 October 2015

Gina's Designs/Creative Paperclay Halloween Blog Hop

The Creative Paperclay Design Team has teamed up with
Gina's Designs Lasercuts Design Team
for a Halloween Themed
Blog hop.
We are excited to show off our Halloween projects and even
more excited about the fact that
YOU can win a prize!
Prize Package Includes
1 pound package of Paperclay
1 sample package of Sandits
and
$25 shopping spree to Gina's DesignsLasercuts
How to enter - each of these will get you one entry
1) enjoy the hop
2) Stop by each blog on the hop and leave a comment
3) Pin each project on your Pinterest site
4) share this post on your Facebook page
5) Like Creative Paperclay Facebook page
6) Like Gina Designs Facebook Page
Here is the List of BLOGS:

<!-- start InLinkz script --> <div class='InLinkzContainer' id='573682' > <a rel='nofollow' href="http://www.inlinkz.com/new/view.php?id=573682" title="click to view in an external page.">An InLinkz Link-up</a></div> <script type='text/javascript' src='//static.inlinkz.com/cs2.js?v=116'></script> <!-- end InLinkz script -->


My Project:

I created a fun reverse canvas project featuring a photo of my daughter in her costume when she was 4 (she's 20 now!)
,
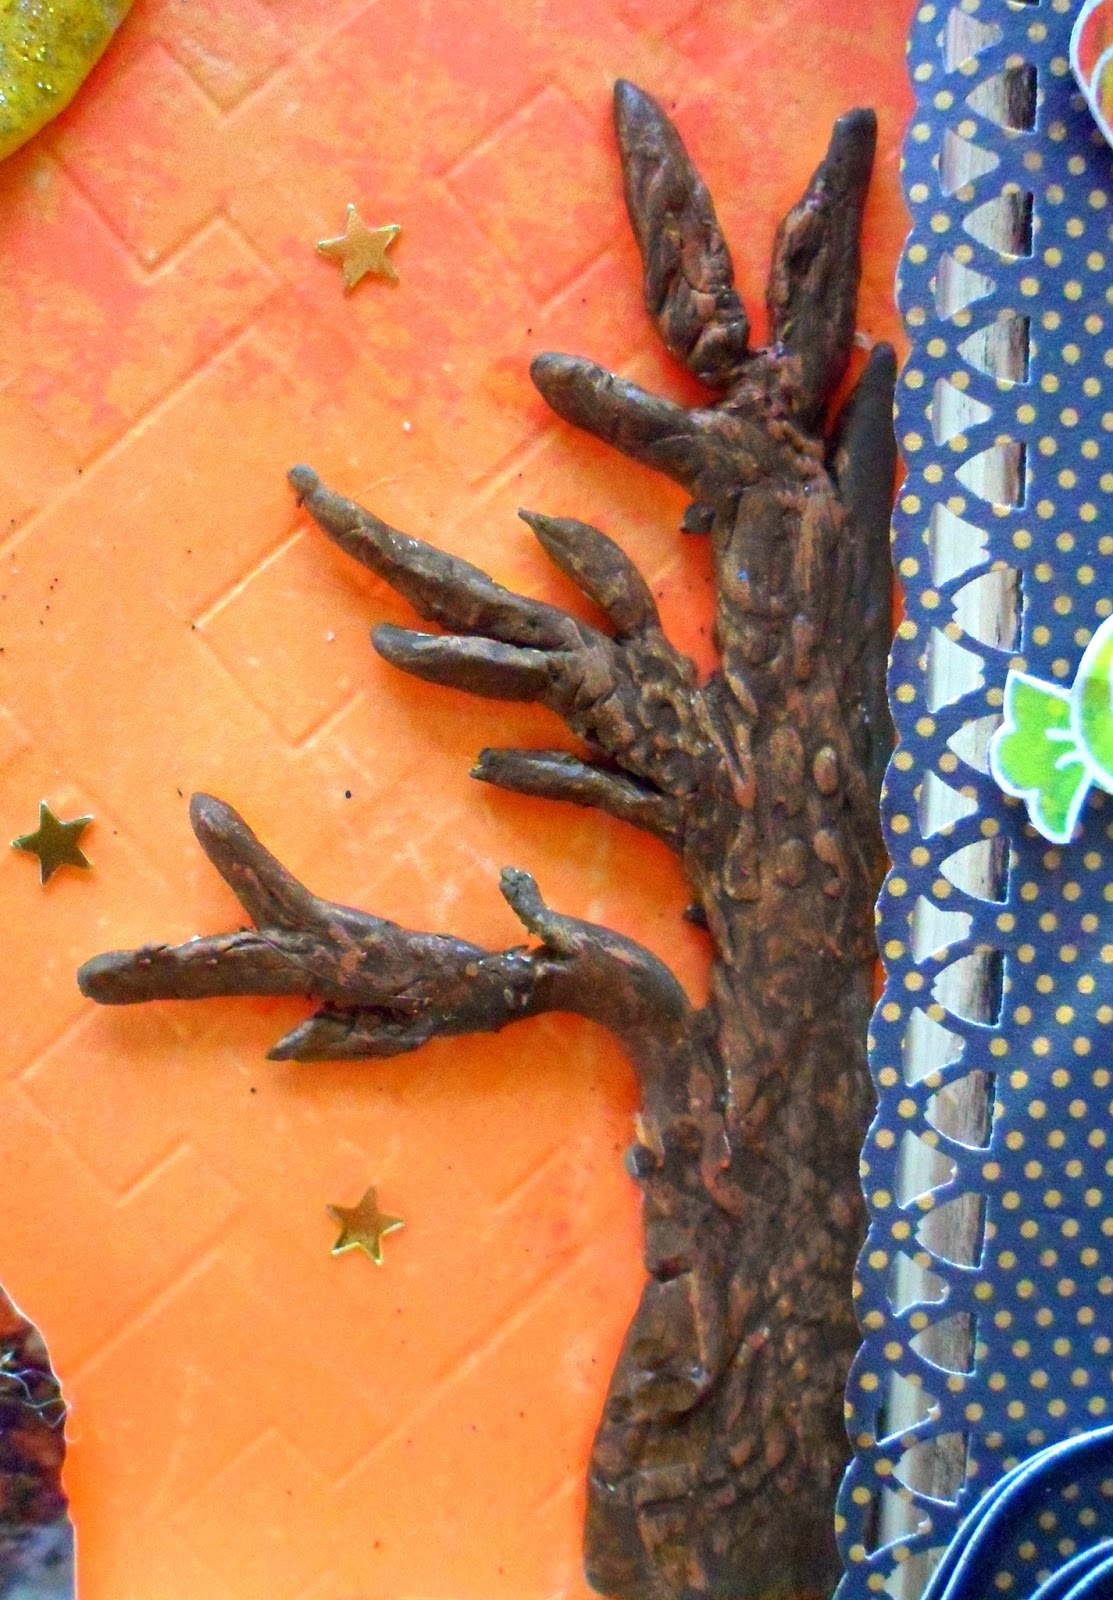
I created a moon, a tree, and some fall leaves with the paperclay. The moon was painted yellow then brushed with a few coats of gold glitter glue. The tree I shaped by hand, then pressed into a woodgrain embossing folder to create the texture. I painted it with brown acrylic paint and them drybrushed it with other shades of brown.

The leaves were shaped by pressing small pieces of the paperclay onto metal leaves. I then brushed them with matte medium to create a less porous surface before colouring them with alcohol inks.

The Wicked title piece from Gina's was covered with some lively patterned paper, then I sanded and inked all the edges.

The witch piece was painted black then stamped with Versamark ink in a random dot pattern using a Finnabair Prima stamp and then heat embossed with black glitter embossing powder.

Some fussy cut elements from the patterned paper and black cat stickers from my stash finished the effect.

Thanks a bunch for stopping by and have a "Wicked" Halloween!

Gina's Items Used
Title Wicked
Witches