Monday 30 December 2013

All you need is LOVE...

Well, here I am, alive and recuperating from a nasty bout of the flu over the holidays! Between that and getting ready for Christmas, I've been a delinquent blogger...hope that doesn't get me on next year's naughty list!!

I have NOT however been a delinquent crafter! I created this as a Christmas present for my favourite aunt who happens to be a huge Beatles fan...

This was created Finnabair style, with lots of metal, chipboard, paint and mist. After attaching the letters and a few embellishments,I covered the canvas with tissue paper attached with Mod Podge, then stenciled a bitwith homemade texture paste. The area around the photo was done with a mixture of sand and gesso to both create a frame and make the photo become a part of the background. After the other embellishments were added I gessoed then painted the entire surface before misting with pewter and black mists. The hearts and the "love"words were rubbed with brick red stenciling paste, and the metal music notes were added last.

My aunt loved it, and it fits  in perfectly with her wall of black and white Beatles-themed prints and memorabilia! I love doing projects like this once in a while, so different than my usual feminine, lacy layouts.Thanks a bunch for stopping by...happy New Year to you and yours!

Thursday 7 November 2013

Amazing Giveaway at Cést Magnifique!

My fingers, toes and eyes are crossed for this one....which makes typing a wee bit of a challenge! Nevertheless, I'm sharing the link with you to give you a chance at these fabulous goodies...
http://cestmagnifiquekits.blogspot.ca/2013/11/november-bits-pieces-giveaway.html

Thursday 24 October 2013

Last Rose of Summer

No, I'm not delusional-I know fall is here and summer is long past...sigh...
But that's the title of my layout; my great aunt (pictured here around 1920) was named Rose, and one of the photos I have of her had that caption hand-written on it, so I thought it was fitting to use as a title for a layout of her.


This layout is for the About a Girl challenge at the Boy Meets Girl challenge blog which can be found here: http://boymeetsgirlchallenges.blogspot.ca/ The October Challenge was to include texture, and I LOVE texture!! I did some stenciling with homemade modeling paste, layered fussy cutting and pieces of patterned paper, handstitched with embroidery floss, heat embossed on chipboard, and added flowers and cheesecloth, as well as the lovely Maya Road metal butterflies. The lace adds a homey heritage feel and is topped by layered punched strips. I whitewashed the one blue flower on the Pink Paislee Hope Chest paper to soften the colour just a little, and inked and distressed my edges with Frayed Burlap distress ink.

Thanks so much for stopping by; your visits brighten my day!

Wednesday 16 October 2013

I'm a flower child!!

Just caught me drooling over the gorgeous flowers on the 13 Arts blog!! They're having a wonderful giveaway...check it out!http://13artspl.blogspot.ca/2013/10/nowe-kwiaty-13-arts-new-13-arts-flowers.html

Thursday 10 October 2013

in the lupine field...

In 2007 we went out to Northern BC to visit my parents and hiked up the ski hill  (played in the snow in August)  Lupines were growing wild on the mountain and I couldn't resist getting a picture of my daughter, who was 12 at the time, taking a break in the middle of them.

I've had this paper forever and loved it, and it just happened to match the Color Room's palette; they're joined up with Scrap for Help, who's challenge is to use cork on your layout.

Find the Scrap For Help challenge here:
http://scrapforhelp.blogspot.ca/2013/10/scrap-4-help-october-challenge.html

and the Color Room challenge here:
 
I whitewashed the floral pattern a little to soften it, added some stenciling with texture paste, a wee spray of fuschia mist, and cut the cork strips with scalloped scissors before punching holes in them.

Wednesday 9 October 2013

A Matter of Life and DEPP

My Silver Screen album has really taken on a life of its own; I've had friends give me requests to scrap certain stars or movies, and one of the girls on Scrapbook.com requested "another gorgeous guy" after I'd done Harrison Ford, Sean Connery and Clint Eastwood pages...since my daughter is also madly in love with Johnny Depp, I figured he was a good choice...definite eye candy!!

This layout will be entered in the October Grunge challenge on the Boy Meets Girl blog:

http://boymeetsgirlchallenges.blogspot.ca/

I used tons of ink and paint here, some homemade modeling paste, embossing folders, drywall tape and metal and chipboard goodies. The saw blade/scissors embellie is from Jolee's and the transparency is from Pebbles Inc. From Me to You collection.

I had so much fun doing this, getting all messy and not having to worry about things being straight or even!

Have a great day, and thanks so much for stopping by!!

Sunday 29 September 2013

I DO believe in fairies...

On a recent trip to Niagara falls with a friend, we visited the butterfly conservatory and surrounding gardens; this wonderful tree caught my eye! The openings/knotholes remind me of fairy doors, so I started to refer to it as the fairy tree. A few days later I happened upon this sweet resin fairy in a thrift store, and the layout idea was born...
The colours look so much more vibrant in real life; the 2 main patterned papers came from the same friend, from a pack she had, the name or maker of which I have no clue-but when I set the photon that paper, I believe I hear a chorus of angels (or fairies perhaps?) I often say the papers and photos speak to me while I'm matching them up, but this one seemed so perfect it SANG!  Figuratively speaking, of course...I don't REALLY hear voices!!
layers of punched strips along
                                                     the edge of the photo

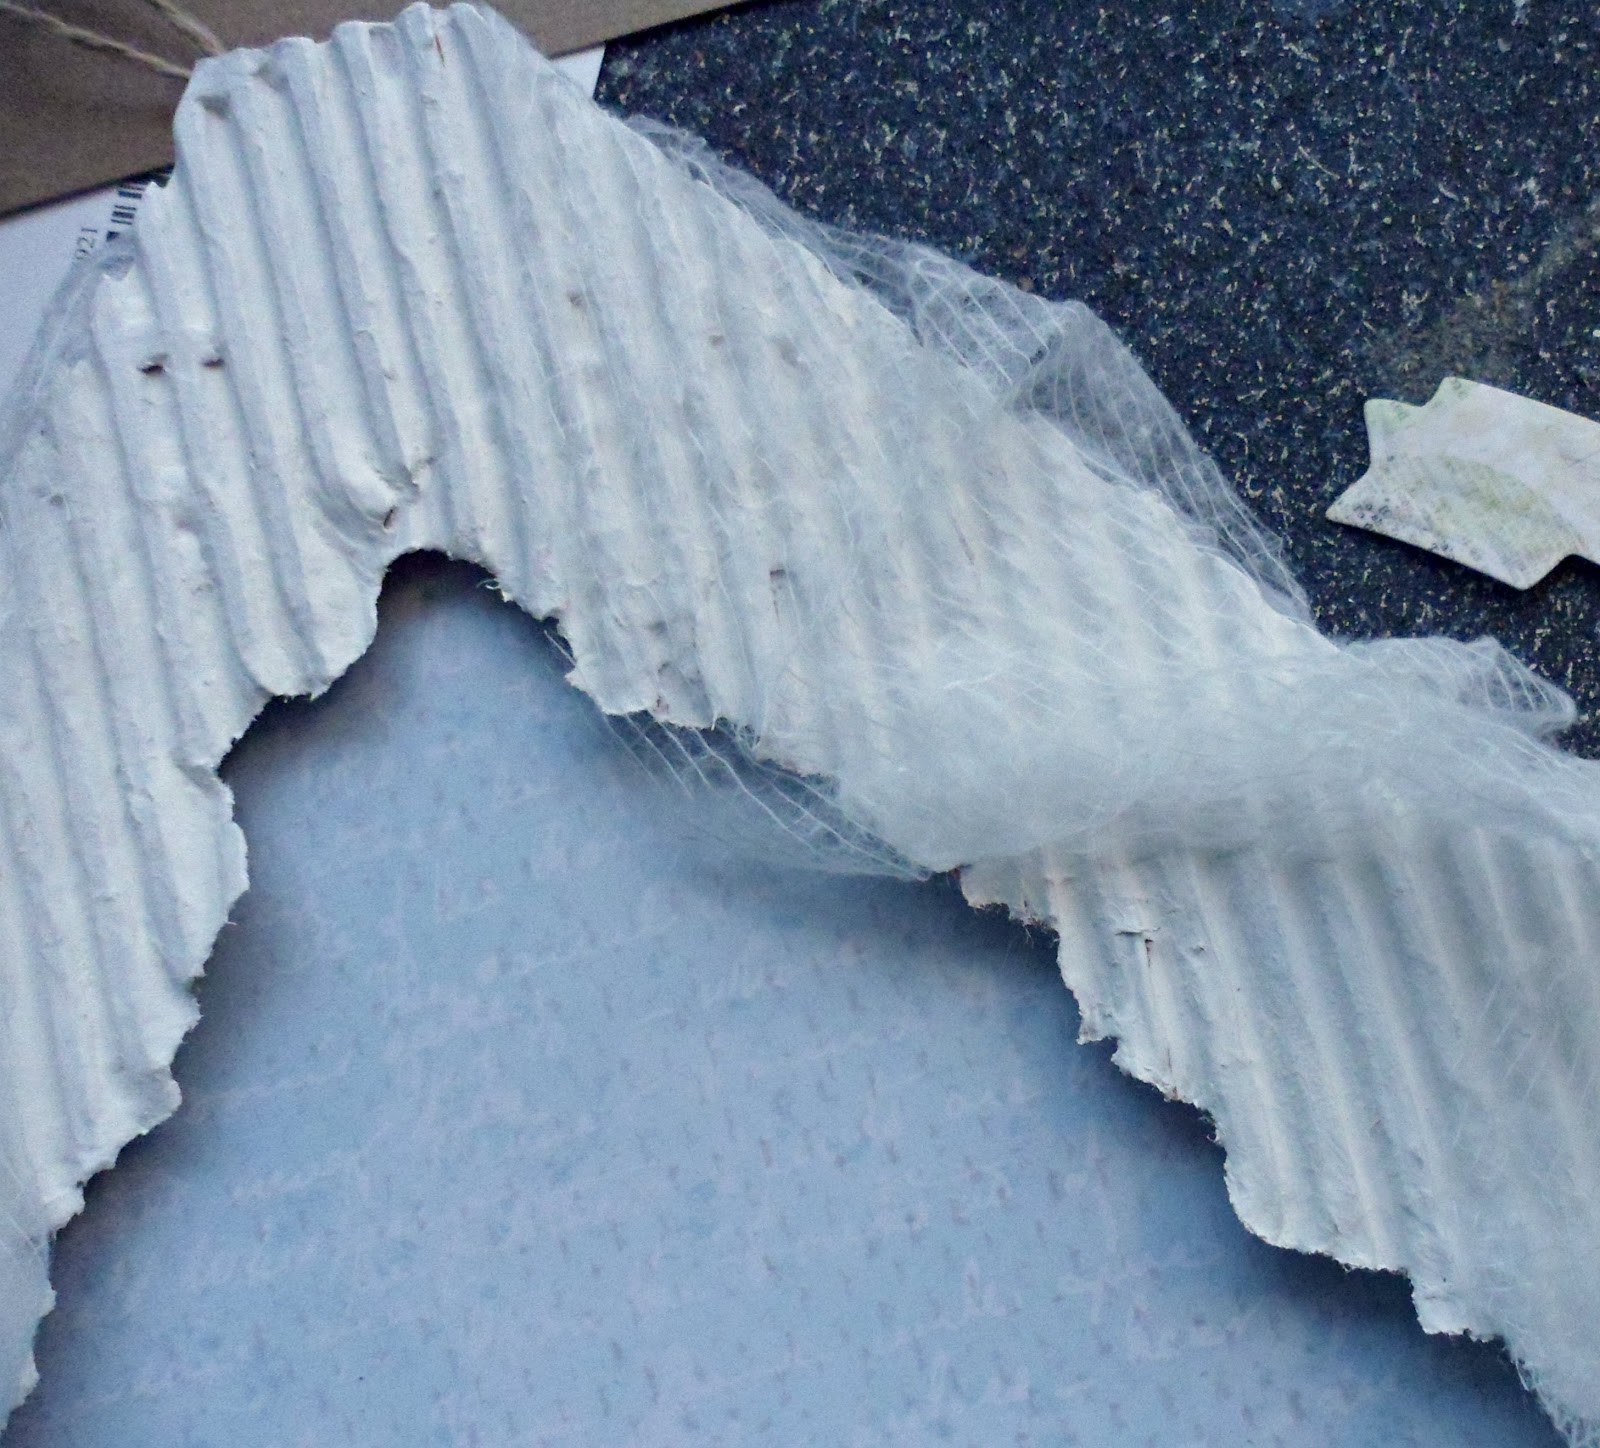
 homemade modeling paste and a                                                          Crafter's Workshop stencil

layers of cheesecloth dyed with acrylic paint, topped with a Martha Stewart punched butterfly, topped with a metal key painted and misted.
I am entering this in the Inkido September challenge, which called for layers and at least one border punch. I layered border punches around the photo; the yellow edging, blue punched paper, and the blue, green and yellow main background;as well as the layered circles, cheesecloth and the butterflies with the key bodies.http://inkido.blogspot.ca/2013/09/september-challenge-layers-and-border.html

I am also entering this in the scrapki-wyzwaniowo Challenge #80, which called for the colours blue, green and yellow... since serendipitously the main background paper that sang to me had these three colours in it, the only challenge remaining was to keep from adding any other colours...so I contented myself with a gazillion shades of blue and green, and a soft, delicate butter yellow that seemed to complement them so well.
http://scrapki-wyzwaniowo.blogspot.ch/2013/09/challenge80-green-yellow-blue.html

Thanks so much for stopping by my blog, dear fellow crafters! wishing you a wonderful week :)

Thursday 19 September 2013

lucky...rescued...loved.

I decided to create a layout for the Once Upon a Sketch challenge, and also as a gift for a wonderful lady I follow on Facebook (Julie Squirrellady Gallagher) who has a passion for rescuing and rehabbing orphaned and injured baby squirrels. Little Rosie Posie here is her latest rescue.

Journaling attached to the back reads:
"Your unconditional love for Rosie shines through these precious photos, as does her love for you. Everything you do for the squirrels shows how much you truly care for them."

                       
I opted to create a mixed media style project, and used tissue paper on cardboard for the background, then brushed it with gesso:
I love the wrinkled , random texture or this type of background!  Then I added some homemade modeling paste using Prima stencils(I use the baby powder recipe for this type of project)


I painted the embellishments separately with the same acrylic paint I used for the background, then misted with Perfect Pearls and Mister Huey's mists
after everything except the photos, grey buttons and punched leaves were attached. I very seldom do multi-photo layouts, but found the small, b/w images easy to arrange and work around. Hope you enjoyed my project...hug a squirrel today! xx

Saturday 14 September 2013

SWEET!


I'm just getting brave enough to try my hand at some challenges (provided I can figure out the whole linking thing!!)

This layout is for the 1-2-3 Challenge blog, where this month's criteria is to include: the colour pink, the word sweet, and the technique of handmade flowers.

I was also pleased to discover that the Use Your Words Challenge blog's theme for the month was the word "sweet" so I was able to include this layout there...doubly sweet!!

This adorable photo is of my cousin Jane crashed out on her high chair, 1957...I received a box of heritage photos shortly after my uncle passed away, and they've been a wonderful insight into my mother's side of the  family.

I handcut the flowers, chalked the edges and layered them, using a crumpled ball of the same paper for the center. The small flowers are fussy cut from some Recollections paper that was in my stash. All the other papers are  from Authentique's "Delightful" collection.
 I love handstitching on my layouts, usually with embroidery floss, which is what I used here. The Prima wood pieces were painted with grey acrylic paint to coordinate with the background paper, then sprayed with Perfect Pearls mist in "Interference Red".
Birdcage is a Memory Box diecut, the transparency was a gift from a friend in Australia, and the rest was from my stash...thanks a bunch for stopping by!

Wednesday 31 July 2013

Mom and 75 Cents

I have very few photos of my mom, as she really HATED having her picture taken, even when she was younger, so I wanted to really showcase this photo of her at the age of 19, and the lovely Kaisercraft 75 Cents papers seemed perfect for it.


The butterflies on the paper  were just begging to be fussy cut and popped up with foam tape; I just inked, distressed and layered the papers, and added a bit of punchwork and Prima wooden buttons. The hexagonal window is Maya Road, painted with black acrylic paint and drybrushed with a little blue-green paint for an aged look.

Thanks for stopping by!

Wednesday 10 July 2013

First Ever ATC!

I've been seeing so many ATCs lately and have come upon a couple interesting challenges for them that I decided to try one:


I just picked up the incredibly gorgeous glittery butterfly paper from Kaisercraft's Enchanted Garden the other day,  and it inspired my colour and design choice. A little cheesecloth, acrylic paint and mists, and a ton of gesso, and voila!

Monday 24 June 2013

Feed a hungry squirrel today!

I created this to call attention to this wonderful not-for-profit organization that cares for abandoned, injured and handicapped squirrels, as well as some other animals in need. Please check out their Facebook page and consider helping them out-thanks a bunch, friends! I used Sizzix dies, a Martha Stewart punch, handcut leaves and some cloth flowers from my stash to create the wreath. The sweet photo has been posted on several Facebook pages; I'd love to credit the photographer if I knew who it was. I used homemade modeling paste to stencil the acorns and leaves, and the background paper is Trail Map by Pebbles.

https://www.facebook.com/LovelyLitasSquirrelRescueAndRehab?fref=ts
 

Wednesday 19 June 2013

Say hello to Tonks!


I created this layout with a sweet photo my daughter took of one of the little feral cats who've adopted my hubby's workshop as their home...this is Tonks, the friendliest of the little family. His mama and his brother Remus are a lot more skittish, and I've only been able to pet them while they're indulging in the yummy kibble/leftovers combination I bring out for them every evening. Tonks however has figured out that being stroked and petted feels pretty nice, and he'll also take treats from my hand, rub up against me and purr like crazy. Safe to say these guys aren't planning to go anywhere; they know they have it made-LOL!
I used the wonderful BoBunny Trail mix collection; the outdoorsy feel felt perfect for this photo. The flowers are Prima, and the leaves are fussycut from the paper, distressed and inked. I added a second row of offset punchwork behind the punched areas on the main paper to create dimension, and there is stenciling at the upper right done with homemade modeling past and a Crafter's Workshop stencil:


The recipe for the paste is:
1/4 c. baby powder, 1 tablespoon white glue and 1 tablespoon white acrylic paint (although you can use coloured paint if desired) Add water if needed to get the texture you want. I found with a fine stencil like this, I liked the paste fairly thick (try it out on a scrap first-my first couple attempts ran under the stencil and I had to thicken the paste up with a bit more powder!)

For the chipboard bird, I used a paste made with a mixture of gesso and salt as found on the talented Ingrid Gooyer's blog-thanks so much for sharing, Ingrid!
 http://ingridgooyer.blogspot.nl/2013/06/shadow-box-and-card.html


The paste was easy to work with; I just ended up spreading it with my finger, and I love the texture!

Thanks so much for stopping by to visit! have a great day xoxo

Tuesday 7 May 2013

A shout out to Authentique and Scraputante!

A while back I was lucky enough to win 4 collection packs of Authentique papers in a Facebook draw from Scraputante.com, so I thought I'd share a project from each of the collections. I still have lots of paper, alphas and punchouts from each of them, too!

 This was created with the "Delightful" line, and I do think this litle squirrel is delightful! A dear friend sent me the cute handmade nest and the tag, and these just happened to show up in the mail while this layout was in progress...serendipity for sure!! The Maya road chippie branch was a gift from another good friend (scrappers are such wonderful people!) and I altered it with homemade embossing paste made using a recipe from the talented Gabrielle Pollacco (http://gabriellepollacco.blogspot.ca/2012/08/making-my-own-texture-paste-fun-with.html)

 Meet my handsome kitty Chester! This was created with the "Celebrate" collection; the pinwheels were printed on the paper, but I cut them out and popped them up with foam tape, then added brads. The kite and banner strips were handcut, the chippie frame was in my stash, and the title was done with alphas included in the kit.

Another kitty! This is our Chloe, and I used the "Renew" collection here. I love the colours in these papers! We were planning a trip to pick up our sone from university(2 hours each way) so I drew the lines and poked the holes for the stitching ahead of time, and it turned out to be a perfect way to pass several hours of car time! I love to handstitch on my layouts and do it often, but it is a tad time-consuming. The butterfly is a new Memory Box die-my wonderful LSS, Papercraft Cafe, is always bringing in new dies that I can't live without!


For a change, this layout features a creature of the two-legged and not so furry variety-my son Graham at age 2! He was so proud of himself clomping around in my cousin's hiking boots (hard to believe this little guy just turned 21-how time flies!) This is the "Curiosity" collection, which is mostly school-themed, but it worked perfectly here, especially because even at 2, my son loved books, letters and words.

I've always been a mix-and-match scrapper and usually tend to avoid kits and collections, but working with these has definitely made me rethink that; they were a pleasure to work with and I look forward to being able to create more projects with them!

Wednesday 10 April 2013

It's a White-out!!


Not the weather, thank goodness-just the beginning of my latest layout! A couple of the girls fom scrapbook.com came up with a challenge to create a layout using only white items and altering/colouring them however we wanted. As a confessed patterned-paper addict, this was a definite challenge!!  I went around my scraproom like a whirling dervish in a wheeled office chair, throwing every white scrappy goody I had in a bin!

 
,Okay, lots of lace, doilies and soft girly stuff-that gives me an idea what direction my project should take.Next step-create a background with some of these goodies!
 
 
I glued lace, doilies and cheesecloth to the cardstock,attaching the cheesecloth with mod podge.
 
Next I created thes textured bricks with the amazing homemade modeling paste recipe and directions found on Gabrielle Pollaco's blog (http://gabriellepollacco.blogspot.ca/2012/08/making-my-own-texture-paste-fun-with.html) I love the way they came out and have a feeling I'm going to want to put them on EVERYTHING from now on!! I also did some stencilling with embossing paste, then gessoed the whole page. My butterflies are stamped with Tim Holtz Peacock Feather and coloured in with watercolour pencils. I dyed the lace and ribbon with acrylic paint, the muslin with mist, and coloured the buttons, foliage , titlework and pearls with markers.

I misted the background with Tattered Angels Turquoise and Walnut Gold, then added all my altered goodies, along with a photo of my lovely daughter, affectionately known by me as "Baby Girl" (and being a Criminal Minds fan who adores Garcia and Morgan couldn't possibly have anything to do with that-LOL!)
What a fun challenge this was and a great way to try something a little different! Thanks for stopping by :)

Thursday 28 February 2013

C'mon Spring!!


plain wood cutout

whitewashing the butterflies fussy-cut from the paper.
Gesso, the white paint on the cardboard roof piece I tried white cheesecloth first but it got lost on the white roof.


I've been seeing so many posts on Facebook lately announcing how many days til spring, that when I was trying to come up with a unique altered project as well as a spring-themed project to display at my local scrapbook store, Papercraft Cafe, this idea just popped into my head! I got the cute plain wooden cutout from Michael's  and dressed it up with dry-embossed woodgrain paper, spanish moss, patterned paper, corrugated cardboard, cheesecloth and pearls. The number tags are cut from chipboard and hang from tiny nails.

Spring is when I come alive; a time of new beginnings, renewed energy and fresh hope! May spring bring you all of these things and more! Hugs!!